Many people are new to the world of RC planes and want to learn how to fly quickly. After reading this article, you will learn how to fly an RC warbird. You will also get a fast start in flying RC warbirds and avoid crashes. Additionally, you will understand all the essential things you need to know as a beginner.
What is rc warbird?

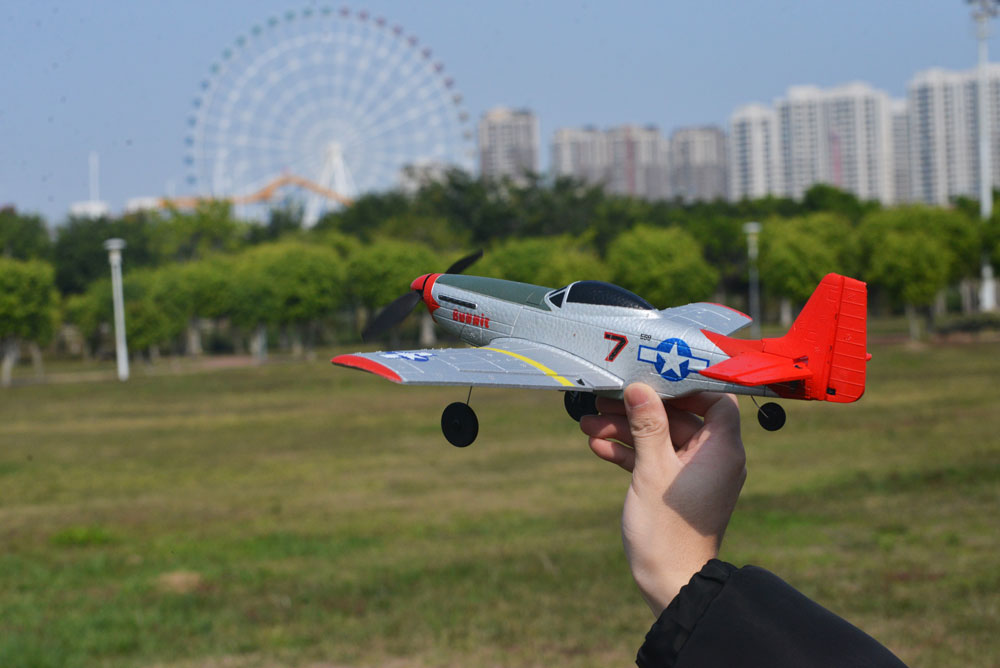
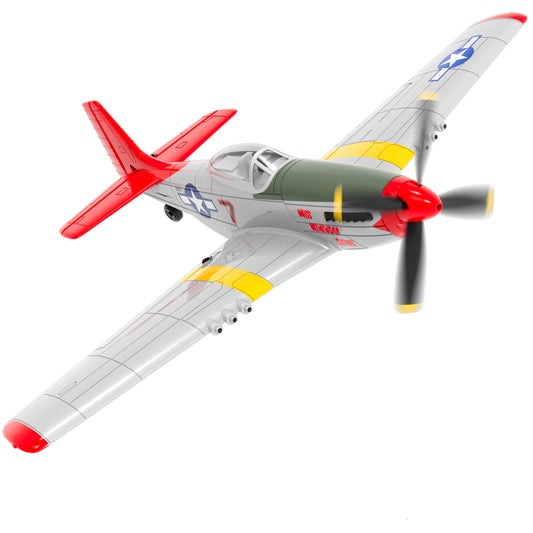
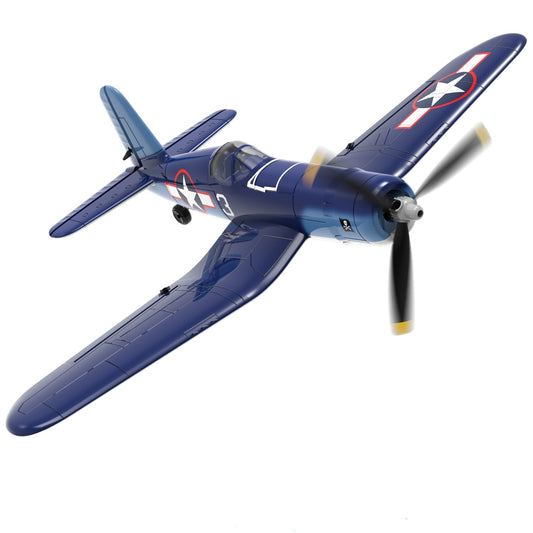
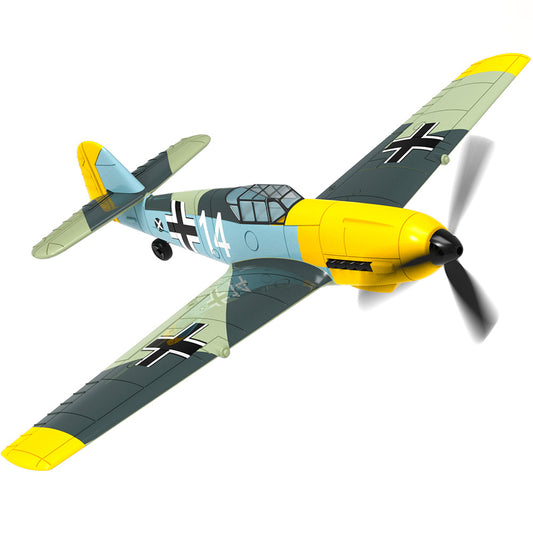
RC warbirds refer to remote-controlled aircraft designed to resemble the classic planes from World War I and World War II. These planes are highly popular among RC enthusiasts because they offer a unique combination of historical significance and challenging flight dynamics. The term "warbird" typically refers to aircraft used during the two world wars, many of which became iconic due to their design, role in battles, and the stories associated with them.
In World War I, planes like the Sopwith Camel or the Fokker Dr.1 triplane became famous for their agility and dogfighting capabilities. These early warbirds were simple but effective, often flying at lower speeds and requiring skillful piloting. As technology advanced in World War II, planes like the P-51 Mustang, Spitfire, and the German Messerschmitt Bf 109 became symbols of air superiority. These planes were faster, more powerful, and more sophisticated, making them thrilling to replicate in the world of RC flying.
Check the Plane
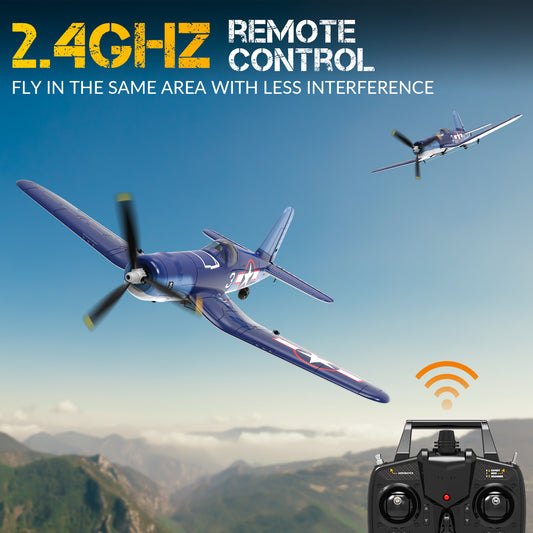
First, turn on the power of both the remote control and the plane, and pair them together. Follow the instructions in the manual for this step, as the process may vary depending on the model of your plane.
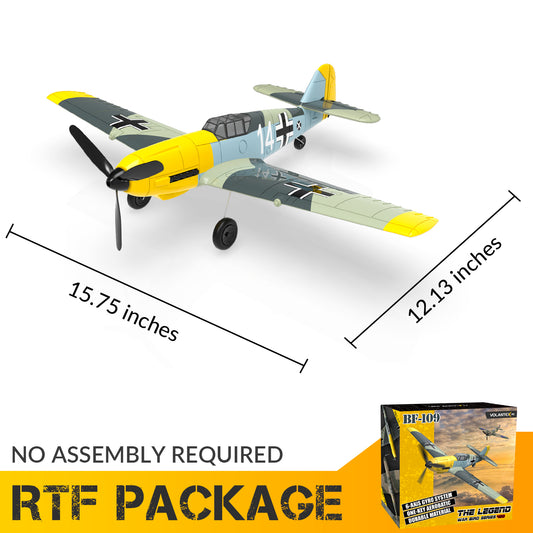
If you purchased a PNP (Plug and Play) version of the plane, make sure the remote control is compatible with the plane.
Turn on manual mode. Check the control knobs and the remote, as well as the throttle. Make sure all functions of the plane are working properly. When you move the control for left and right, the ailerons should move. When you adjust the parallel control, the rudder should move left and right. When you apply throttle, the plane’s propeller should show signs of movement. Check if the wheels can move smoothly as well.
Finally, ensure the battery is fully charged, and your plane is ready for flight.
Check the Environment
When you start flying, it’s important to choose a wide, open space. The ideal location would be a grassy area that is away from people and obstacles. Avoid flying in parks or crowded places at first, as there are too many potential hazards and distractions. These locations can also make it more difficult to control your plane. Once you gain more experience and confidence in your flying skills, you can consider flying in areas with more people or in public parks, but always ensure you have enough space and a clear flight path.
It’s also important to consider the wind conditions. If you're just starting out, avoid flying on windy days, as strong winds can make it much harder to control your plane, especially when you're still learning. Wind can cause your plane to drift off course or even lead to crashes if you’re not careful. It’s best to fly on calm days when there is little to no wind. This will give you the best chance to practice and build your skills safely. Always check the weather before heading out, and choose a day with good flying conditions to make your learning experience more enjoyable.
Starting to Fly: Takeoff, Flight, and Landing
Pre-Flight Checks
Before you take off, it’s important to check your aircraft’s connection and control systems. Gently move the control sticks to test the response of the ailerons and rudder. The ailerons should move in the direction you push the stick, and the rudder should respond to left or right adjustments. This ensures the aircraft is properly responding to the commands from your remote.
Takeoff
Once you're confident everything is working properly, switch your remote to "Beginner Mode" (usually found in the top right corner of your controller). Beginner mode is designed to limit the aircraft's movements, making it easier for you to handle and less likely to crash.
Now, place your plane on the runway, making sure there’s enough space in front of you for a smooth takeoff. To begin, gently push the left stick to around 1/3 throttle. This will give the plane enough power to start moving forward without going too fast. As the plane gains speed, slowly push the right stick forward to lift off. It’s important to do this gently—if you push the right stick too far too quickly, the plane could nose-dive.
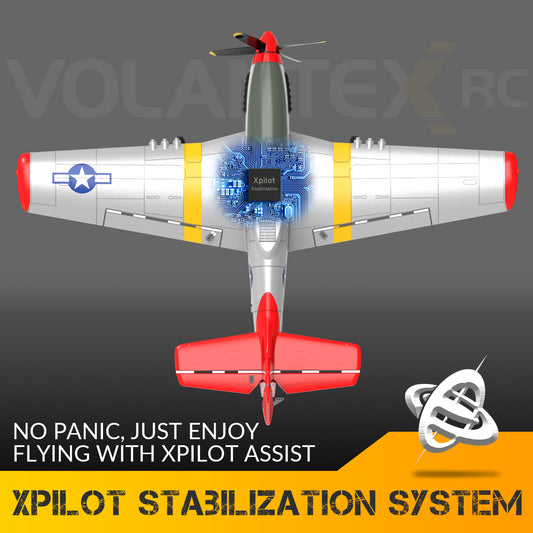
In beginner mode, the plane will have automatic stabilizing systems that prevent it from going into a full stall or loss of control. This makes it safer for you to practice, so don't worry if you’re still getting the hang of things. Keep your movements steady and controlled, and you should have a smooth takeoff.
Flight Tips
Once the plane is in the air, try to keep it level by making small adjustments with the right stick to maintain altitude. If you're flying in a calm area, you can experiment with turning the plane by gently moving the left stick left or right to control the ailerons. Remember, it’s better to make small, gradual adjustments rather than large movements, which can lead to sudden changes in flight that may be harder to control.
In beginner mode, the aircraft will have limited sensitivity, which means you don’t need to worry about making precise, fast adjustments. Just focus on getting comfortable with the controls, and keep the plane steady in the air. Don’t be afraid to take a break if you feel overwhelmed—flying an RC plane can be a lot to manage in the beginning.
Landing
When it's time to land, begin by lowering the aircraft’s altitude gradually. To do this, gently push the right stick down to reduce the plane’s height. The goal is to descend slowly and safely, so take your time with this step.
Next, align your plane with the runway for a smooth landing. Make sure the aircraft is level and heading in the right direction. As you approach the ground, gradually reduce the speed by lowering the throttle to about 1/4. This will prevent the plane from coming in too fast, which could lead to a rough landing.
As the aircraft gets closer to the runway, continue reducing speed to about 1/5 of full throttle. At this point, gently push the right stick up to raise the nose of the plane slightly. This helps to level the aircraft and ensures that the plane touches down smoothly, rather than nose-diving into the ground.
The key to a successful landing is to maintain a steady descent with a shallow angle. The flatter the angle between the aircraft and the ground, the smoother the landing will be. Avoid steep descents, as they can cause the plane to stall or crash.
Final Thoughts
Landing can be one of the most challenging aspects of flying an RC plane, but with practice, it becomes easier. Always remember to stay calm and make gradual adjustments. Even if things don’t go perfectly at first, you’ll get the hang of it over time. Flying an RC plane is all about patience and practice, so take it slow and enjoy the learning process. The more you fly, the more confident you'll become in your abilities. Happy flying!
Conclusion
Flying an RC warbird is an exciting and rewarding experience, but it requires some preparation and practice. Start by checking the plane’s controls and ensuring everything is working properly. Begin with "Beginner Mode" to make the aircraft easier to handle and reduce the risk of losing control. When taking off, gently throttle up and slowly push the stick forward to lift off, avoiding sudden movements that could cause the plane to nose-dive. Once airborne, focus on maintaining steady altitude and making small adjustments to keep the plane level.
For landing, reduce altitude gradually, align with the runway, and decrease speed as you approach. Lower the throttle to slow down and raise the nose slightly for a smooth landing. The key to a successful landing is a shallow descent and a controlled approach. With patience and practice, you'll become more confident in flying and landing your RC warbird. Always start in calm conditions and gradually challenge yourself as your skills improve. Most importantly, enjoy the learning process and the thrill of flying!

